
Start With a Crest That Embroiders Well
Not every logo or crest that looks good on paper will hold up in thread. Fine lines, tiny text and thin borders can disappear once they are reduced to school size, especially on knitwear, caps or thick winter items. For school wear, the best results usually come from a crest that keeps its main shapes clear and avoids too much detail in the inner elements.
If a crest has words, check whether they can still be read at the size the garment allows. As a rule, once a school emblem drops below about 70 mm wide on a shirt pocket area, very small wording becomes difficult to stitch cleanly. It is better to simplify a motto than to end up with blurred text that looks untidy after a few washes. A good digitised file should also suit embroidery on different fabrics, not just one shirt type.
- Keep borders slightly thicker than you would for print.
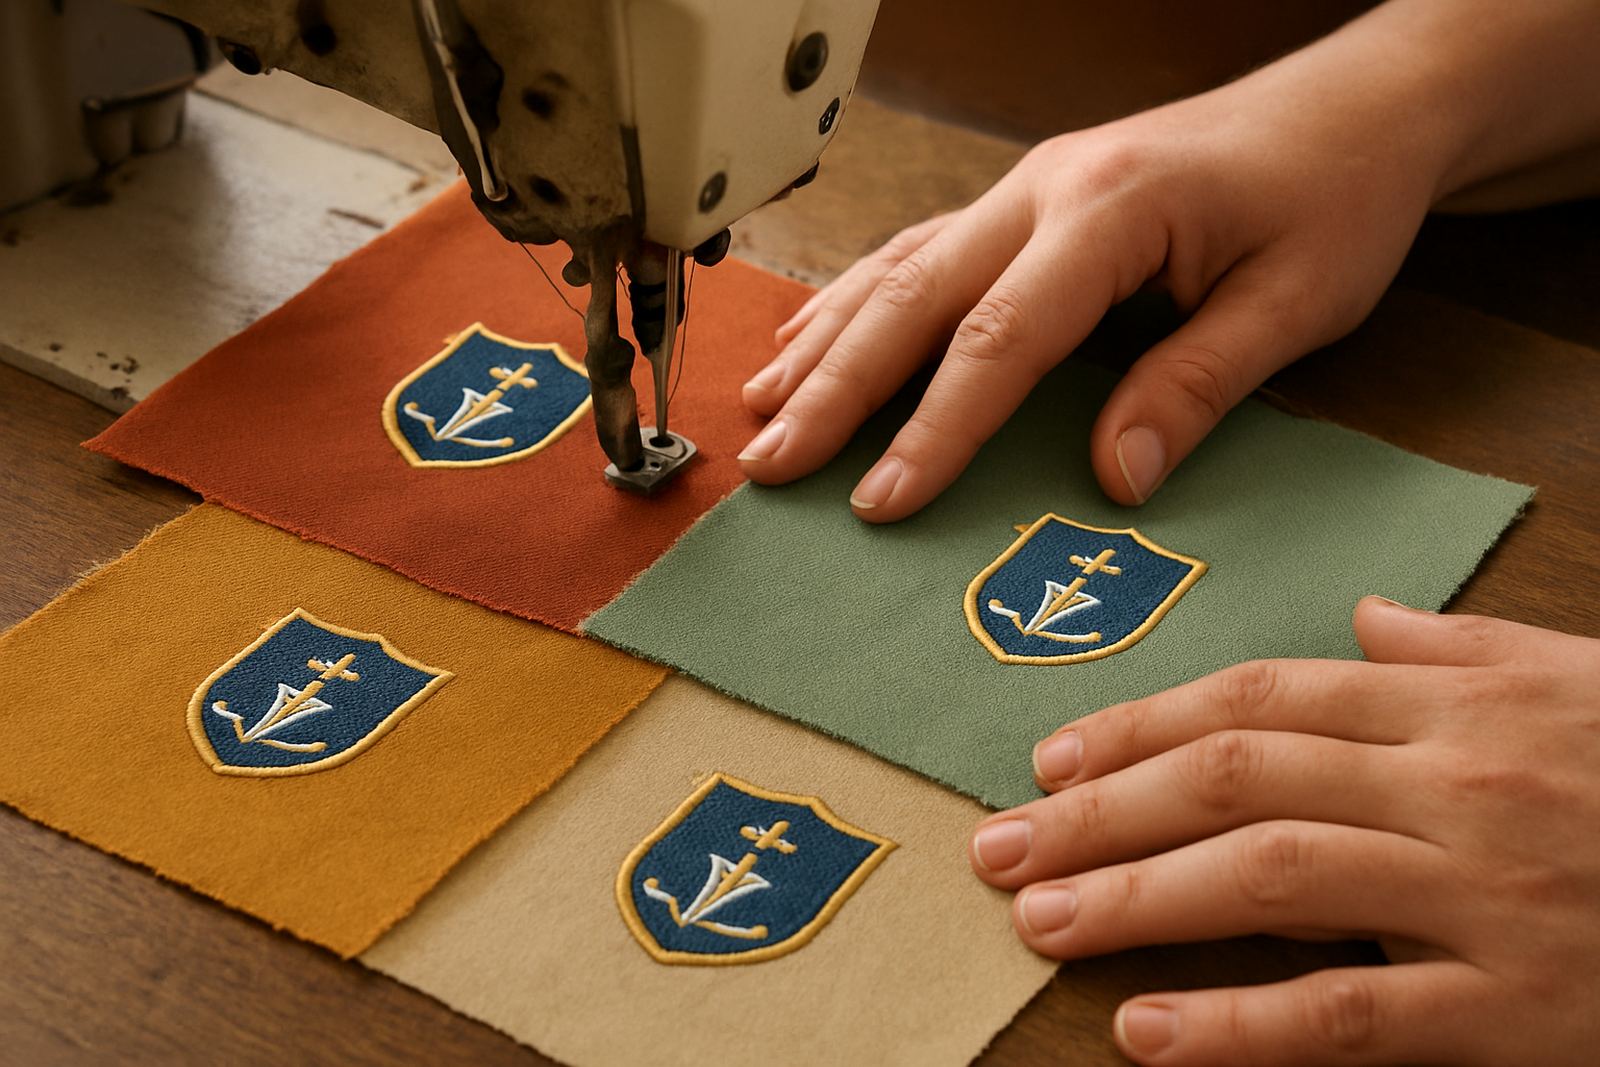
- Ask for a stitch sample before bulk production.
- Use solid shapes for stars, shields and book icons where possible.
- Check that the crest still works in one colour if needed for sports gear.
Choose a Crest Size That Fits the Garment
Size matters more than many schools realise. A crest that is too small can look cramped and lose detail, while one that is too large can pull on the fabric and sit awkwardly on the chest. On shirts, jerseys and cardigans, the left chest area is usually the main position, but the size needs to suit the item and the age group. Primary school garments often need a slightly smaller crest than high school wear, because the garment proportions are different.
For jackets, golf shirts and coats, the crest can often be a little larger and may even sit on the sleeve or upper chest depending on the school dress code. For blazer pockets, the shape of the pocket itself affects placement and stitch movement. That is why a sample on the actual garment is so useful before a full run. In the Lowveld, where schools may order mixed sizes for hot weather and winter wear, consistency across items becomes even more important.
- Use one approved size for each garment type.
- Do not copy the same size onto every item without checking fit.
- Allow space around the crest so it does not crowd buttons, seams or pocket edges.
- Keep boys and girls cut garments aligned so the crest sits in the same spot.
Match Thread Colour to School Standards
A school crest can only stay recognisable if the thread colours are matched carefully. Colour shifts happen easily when a crest is re-digitised from an old sample, scanned artwork or a faded garment. A deep red may end up too bright, a navy can go too blue, and gold can lean yellow if no proper reference is used. Schools in areas like Barberton and Malelane often want a crest that looks the same on summer shirts, winter jerseys and staff wear, so the colour guide must be kept in order.
It helps to work from approved school colours instead of guessing from memory. If the crest includes multiple shades, make sure the stitch plan still keeps the design readable from a short distance. On dark garments, light thread must be balanced properly so the emblem does not sink into the fabric. On white items, very pale colours can lose contrast and look weak. A small test run can save a lot of back and forth later, especially when an order includes several sizes and item types. In practice, good colour control is one of the simplest ways to keep a school looking tidy year after year.
Use the Right Fabric and Backing for the Job
Embroidery works best when the garment is supported properly from behind. Lightweight shirts need a different backing from thick fleece, sports fabric or school blazers. Without the right stabiliser, the stitches can sink, pucker or pull the fabric out of shape. That is especially noticeable on the left chest, where the crest is seen up close and inspected every day. In humid Lowveld conditions, careful backing choice also helps the embroidery keep its shape after washing and drying.
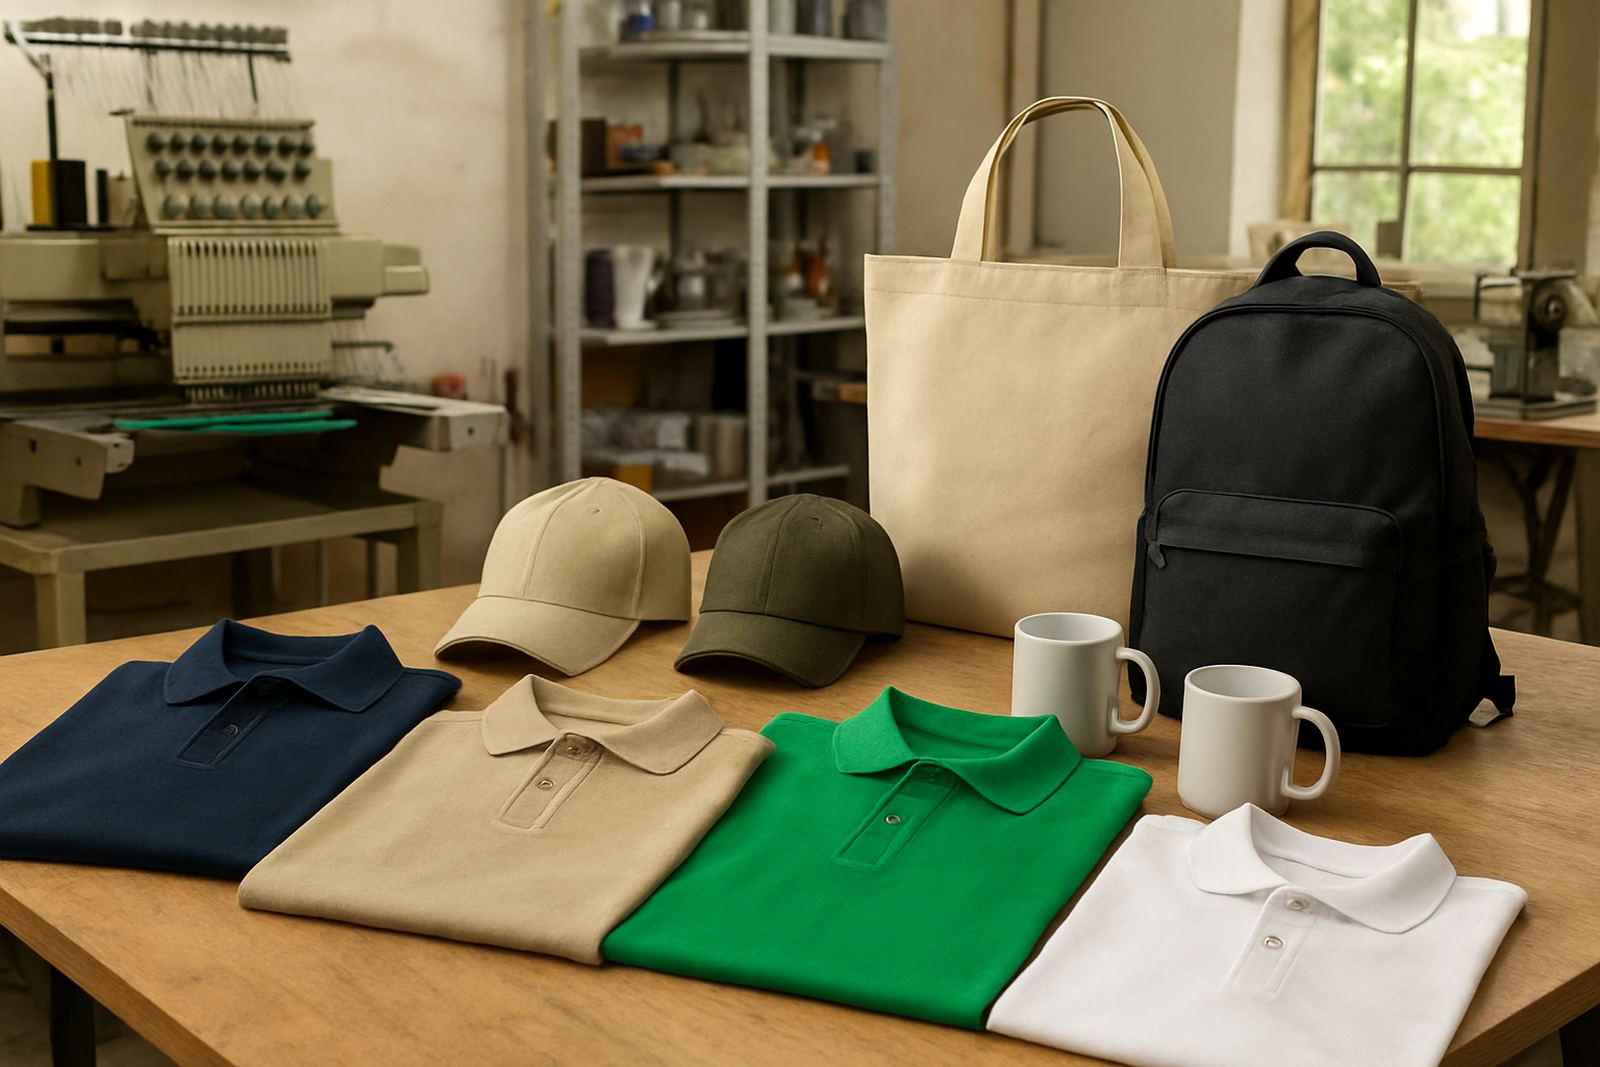
Different materials react differently to thread tension, and a crest that looks fine on a polo shirt may behave quite differently on a jersey or cap. A clean finish depends on the fabric, stitch density and backing being matched properly. For schools that order in bulk, it is worth checking every garment category separately instead of assuming one setting will suit all. That extra step helps avoid uneven results in a mixed shipment.
- Use a backing that suits the fabric weight.
- Test the crest on the same garment type before production.
- Check for puckering after stitching, not just during sewing.
- Allow for wash wear, especially on items used daily.
Approve a Sample Before the Whole Order Goes Ahead
A good sample is not a formality. It is the stage where schools catch size issues, spelling errors, colour mismatches and placement problems before dozens or hundreds of items are finished. Once a crest is approved, the order can move into bulk production with far less risk of inconsistency. For schools in Mbombela and surrounding towns like White River or Hazyview, this step is especially valuable when the order includes a mix of shirts, jerseys, tracksuits and caps.
The approval sample should be viewed in normal light, not only under workshop lights. It is also worth checking the crest on the actual garment size that most learners will wear. A small sample on a tiny shirt can look very different from the same crest on a larger size. If the school has different house colours or staff variations, those should be checked too so the final set stays uniform.
- Confirm spelling exactly as it must appear.
- Check crest position from shoulder seam to chest point.
- Approve colour against the school standard, not guesswork.
- Record any changes before bulk stitching starts.
Plan for Daily Wear, Washing and Local Conditions
School garments are worn hard. They go through repeated washing, ironing, sunlight and the occasional muddy sports day, so the embroidery has to stay neat under pressure. In the Lowveld, high temperatures and humidity can add extra strain to fabrics and thread, particularly on items that are dried outside. A crest that is stitched too densely can feel stiff, while one that is under-stitched can fray or lose its outline. The right balance matters.
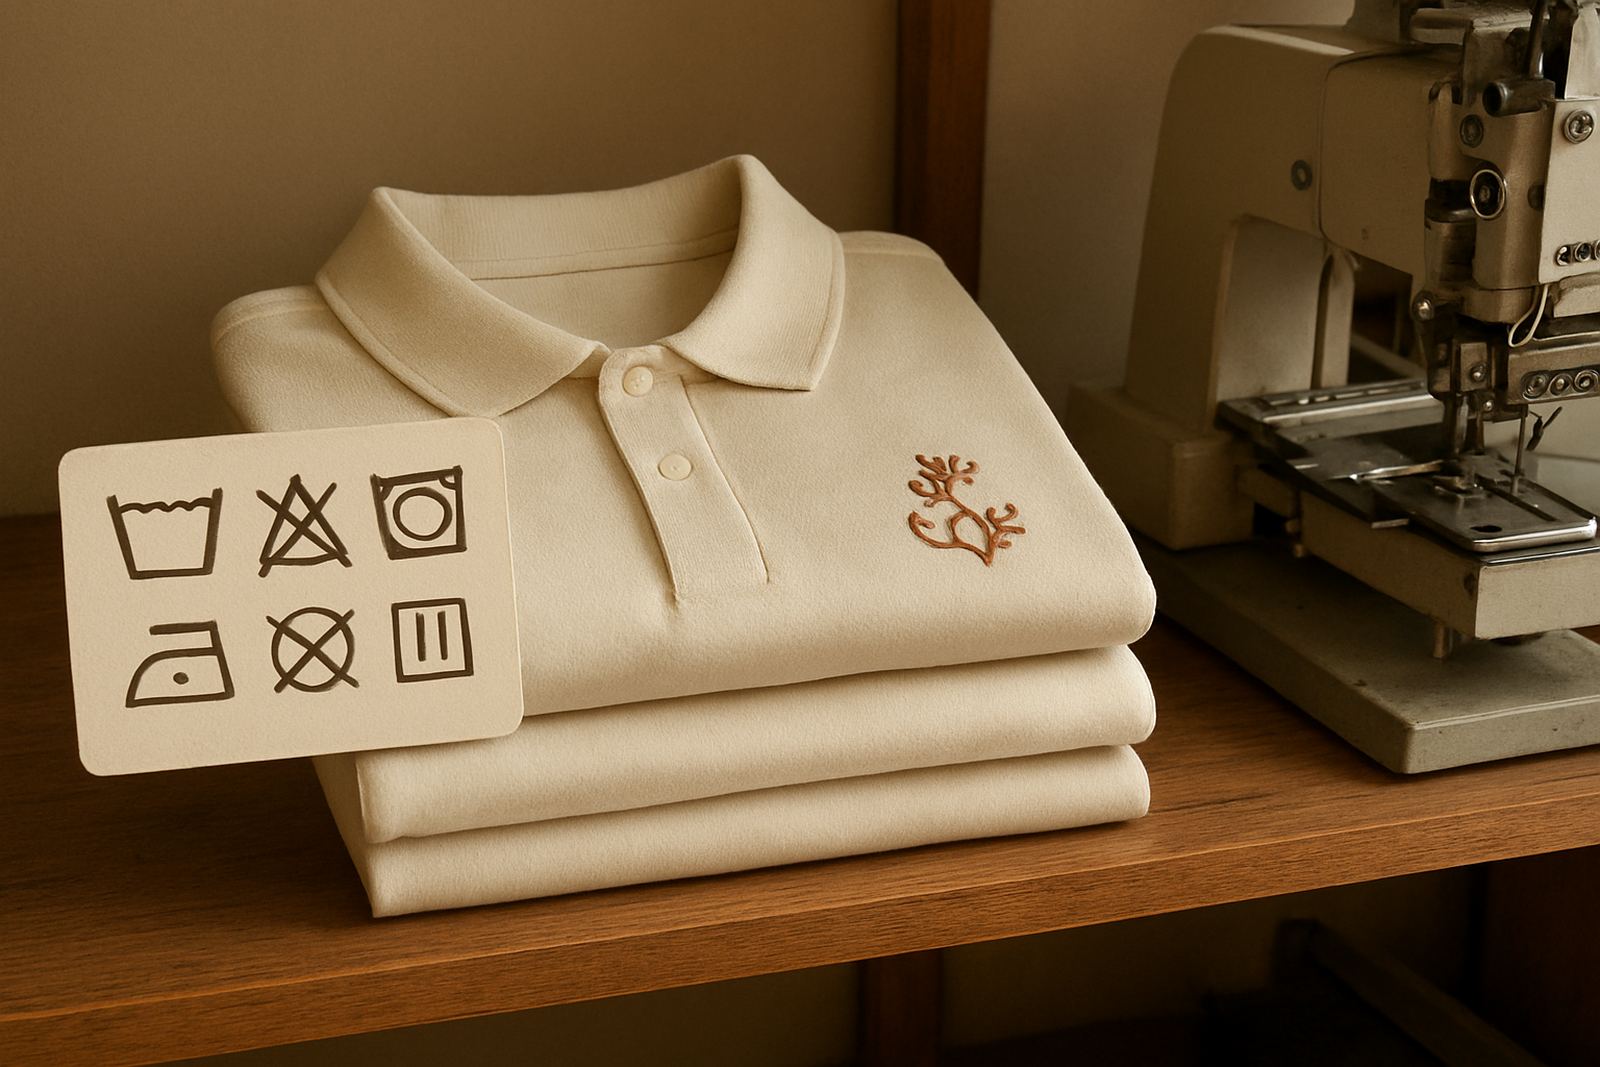
Schools should also think about the practical side of uniform care. Clear instructions on washing and ironing can help extend the life of the crest. Turn garments inside out, avoid harsh bleach and keep heat moderate on embroidered areas. When the school uses the same approved crest across different grades and uniform items, it becomes easier for parents and the store room staff to manage stock. Consistency is not only about appearance, it also makes reordering simpler and keeps the school image steady through the year.